Getting Started, Flight Setup, and Best Practices
Getting Started
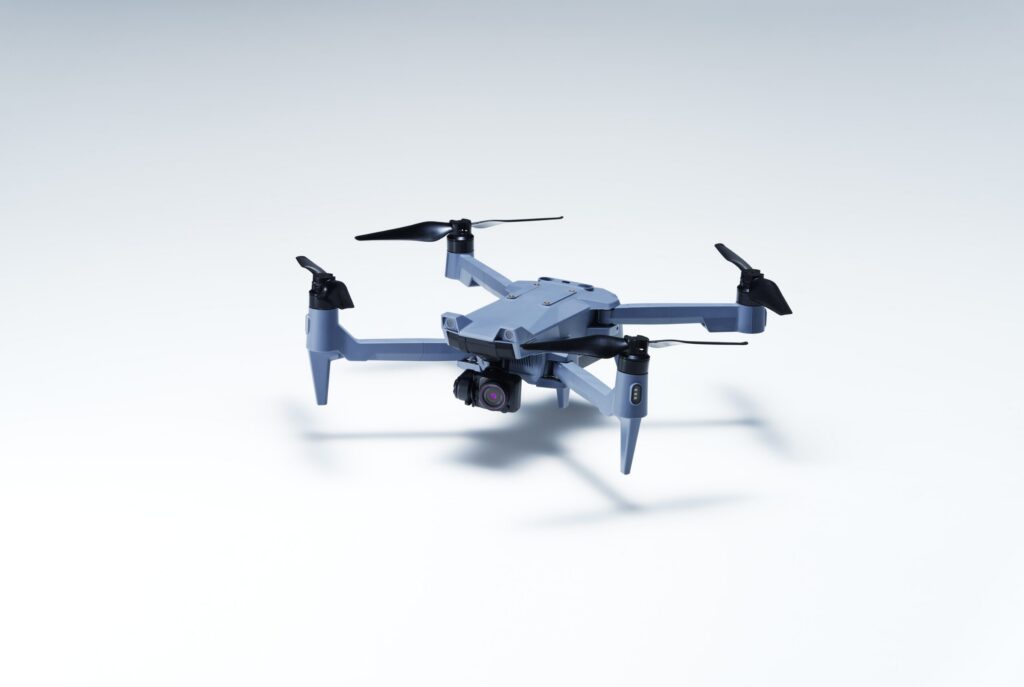
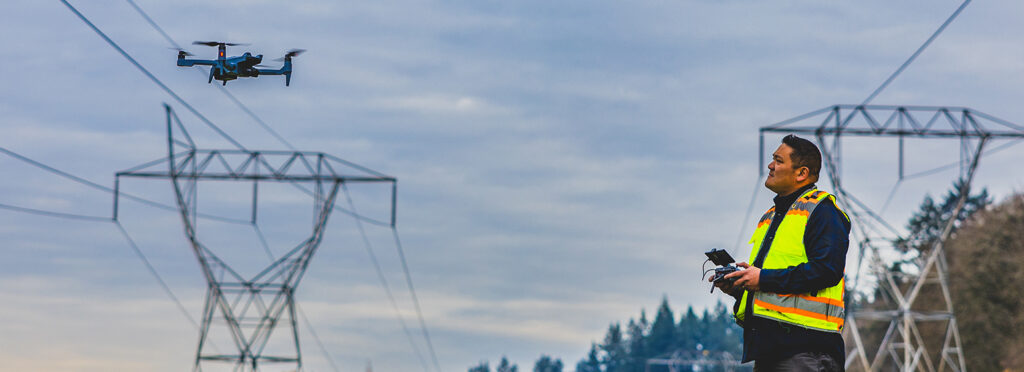
The SOTEN drone and TAITEN controller are designed for rapid deployment, secure operations, and consistent data capture across a wide range of missions.
This guide walks through:
- Initial setup
- Flight configuration
- In-field best practices
- Post-flight handling
Product Information
Need assistance? support@acsl-usa.com
To download firmware, the TAKEOFF application, or submit repair requests, visit our Support Page
Before You Begin
Before powering on:
- Ensure all batteries are fully charged
- Confirm firmware is up to date
- Verify SD cards are installed and formatted
- Inspect aircraft and propellers for damage or debris
Before You Fly
Environmental Check
Do not fly unless conditions meet the following:
- Wind: Within safe operating limits
- Visibility: Clear line of sight maintained
- GNSS signal: Strong and stable
- No nearby interference (power lines, dense RF environments)
Site Awareness
Before takeoff:
- Identify takeoff and landing zone
- Set a safe Return-to-Home (RTH) altitude above obstacles
- Evaluate terrain changes if operating in uneven environments
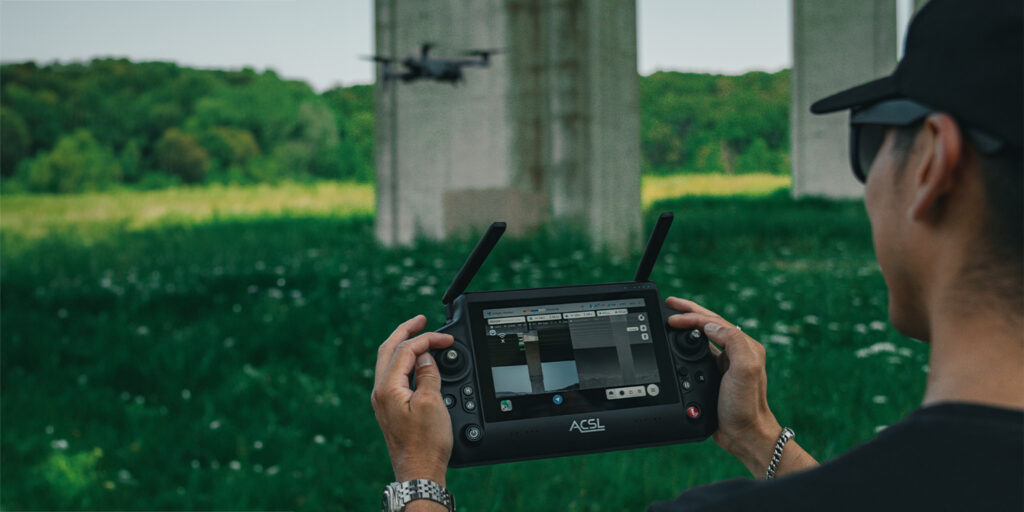
Controller & Aircraft Setup
Before arming motors:
- GNSS lock confirmed
- Home point recorded
- Battery levels verified (aircraft + controller)
- Camera and payload functioning
- Compass status normal
How to arm motors:
To arm motors, hold the left joystick down and outwards (to the left) until propellers begin to spin.
Recommended Settings
1. Controller & System Setup
Controller Mode
Set the controller to Mode 2.
Many TAITEN controllers ship in Mode 1, which is less common in the U.S. market.
From the main startup page after powering on the TAITEN, select the SETTINGS tile and click on Flight Mode to select the correct Mode.
Software Version
Ensure the latest version of TAKEOFF is installed on all smart controllers prior to deployment.
Pre-installing updates eliminates unnecessary setup steps and ensures users have the most stable and feature-complete experience from first flight.
2. Flight Performance Settings (Auto Control Parameters)
These settings directly impact mission efficiency and responsiveness, especially during autonomous operations. Within TAKEOFF, select the Settings button in the bottom right of the screen and then select “Restriction/GPS”
Automatic Takeoff Speed
Set to maximum value.
While not critical for manual flights, maximizing takeoff speed improves efficiency in autonomous missions where time-to-altitude matters.
Automatic Landing Speed
Set to maximum value.
Default landing speeds are unnecessarily slow, particularly when descending from higher altitudes (e.g., 400 ft / 120 m). Increasing this value significantly reduces mission time without sacrificing control.
Go Home Horizontal Speed
Set to maximum value.
In low battery or long-range scenarios, faster return speeds improve safety margins and reduce downtime between flights.

Go Home Ascent Speed
Set to maximum value.
Faster ascent ensures the aircraft reaches safe return altitude quickly, especially in complex or obstructed environments.
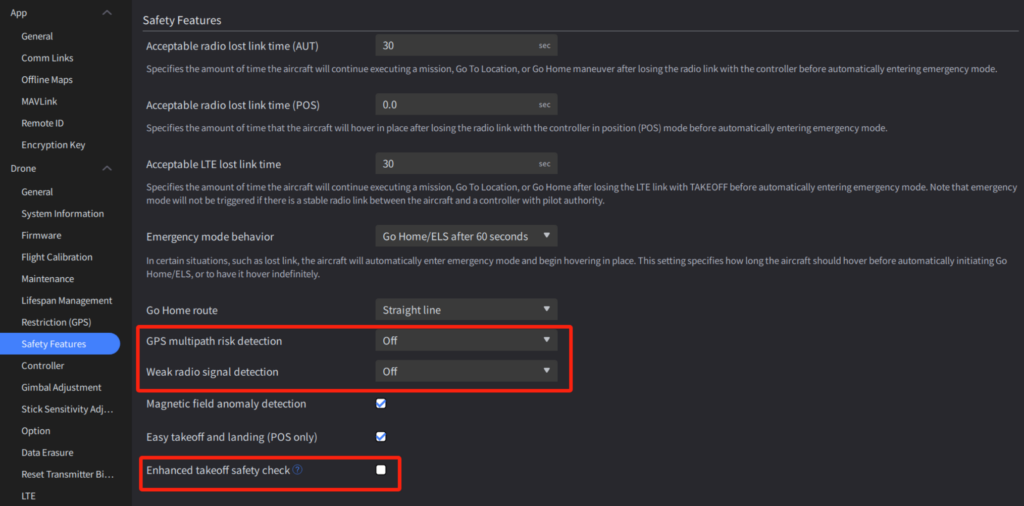
3. Safety & Detection Settings
These recommendations are based on real-world usability and reducing unnecessary pilot interruptions.
GPS Multipath Risk Detection
Set to Off (unless operating near dense urban structures).
Even on lenient settings, this feature can generate excessive notifications in environments without tall buildings, creating unnecessary distractions.
Weak Radio Signal Detection
Set to Off.
Current behavior tends to trigger frequent alerts, even in manageable conditions. Pilots are typically trained to monitor signal strength and rely on Return-to-Home (RTH) protocols when needed.
Enhanced Takeoff Safety Check
Set to Off.
While intended as a safeguard, this feature can increase deployment time and has proven unreliable in environments where GPS performance is otherwise stable. For time-sensitive operations, disabling this improves speed and consistency.
4. Operational Philosophy
These default settings are designed to prioritize:
- Efficiency → Faster takeoff, landing, and return speeds
- Reliability → Reduced unnecessary system alerts
- Speed to Deployment → Fewer pre-flight delays
- Pilot Confidence → Predictable, consistent behavior in the field
For most commercial and enterprise use cases, these configurations strike the right balance between performance and operational simplicity.
5. When to Adjust These Settings
While these defaults work well in most scenarios, consider adjustments when:
- Operating in dense urban environments (re-enable GPS multipath detection)
- Flying in high-interference areas (monitor radio signal settings more closely)
Conducting high-risk or compliance-heavy missions (enable additional safety checks as needed)